I take my hat off to all the wonderful crochet pattern designers out there. Coming up with a design and figuring out the stitches per inch needed and what not is no easy task. For the first time I actually crocheted a swatch to give me the stitch count I needed to figure out the bottom and side of my tote.
I can say I am not the most organized person when I begin a project. I like to dive in and begin without having to think too much about what I am working on. So this project has me thinking more and really making it my own. I am sure there is a well written pattern for this type of tote, but I thought it can't be that hard. (yeah right) I've enjoyed the process though and really love the creative side of it. Yeah it's not fancy with a lot of bells and whistles but it is my own creation.
The solid granny square by Tamara Kelly came out to be 5 inches by 5 inches and I wanted 6 inches by 6 inches. I ended up doing two extra rows of single crochet to make it the size I needed.
 |
| My Granny prior to being blocked. |
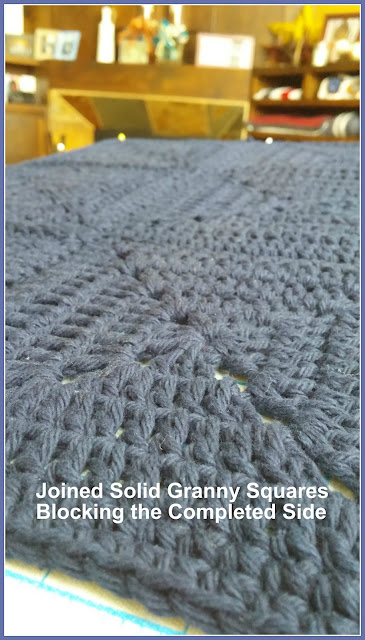
I joined the squares with a whip stitch join which gives almost no extra seaming width.
I really love the way the join looks on the front side of the joined squares.
Once I had all 12 squares joined I decided to block both sides again. This gives me a true 12 x 18 inch measurement.
I decided on a really cute houndstooth print cloth for the liner. I also decided for the handles I would use rope cord. This meant using grommets and I had never done a grommet before. It turned out pretty easy and fun because I got to hammer away. How often do you use a hammer on a crochet project?! I found the white rope cording on clearance at Michael's! I was ready to checkout when I realized I had not picked up the cord. As I was walking over to the area of the store that the cord should be I passed a clearance rack and that sweet white cord package stood out and I was able to nab it for under $3!!
I loved how it turned out. It measures 18" x 12" and is a perfect size for a Farmer's Market Tote or even a picnic tote.
I will be back later this week with an update on all my projects. I was very productive this weekend and finished up 4 WIPs!! Have a great week!!


No comments:
Post a Comment